Really pleased with this one. Needed to try less geometric, more organic patterns. The FH1 plastic takes dye much better than the butterfly, i need to adjust to use less solvent to not abuse the plastic and more water to mix the dye colors to lighter or darker shades.


20 Likes
These are coming out very gorgeous. Very, very nice work. Excellent job on the symmetry of your designs.
4 Likes
These are all so very cool! I’ve just started messing with a little bit of modding and this thread has me very excited. And, with Christmas coming up, it should be pretty easy to procure a bunch of $3 butterflies soon! Thanks for taking the time to post all this.
3 Likes
No prob, i like to dig through other peoples posts to get new ideas so thought this would be a small way to pay it forward.
3 Likes
I just wanted to say how awesome and beautiful these are ![]()
2 Likes
Hi Justin,
If I just want to swap some caps around on some of the new mold ones, is the paracord, vise, poke with dowel method the best way to do it? I’d like to end up with them playing exactly as they do now if possible.
Its the best way I have found to disassemble for cap swaps, it should play the same after reassemble if you are not modifying any of the parts.
1 Like
I completely missed this thread, man your work is spectacular! And the dye is outstanding! How do you do those patterns? I would love to hear more about your technique!
1 Like
Thanks Gian, i do need to do another dye job to rebody a purple butterfly i shattered… it’s pretty tedious work but i will try to document my process on the next one and put it here. hopefully sometime in the next few weeks.

9 Likes
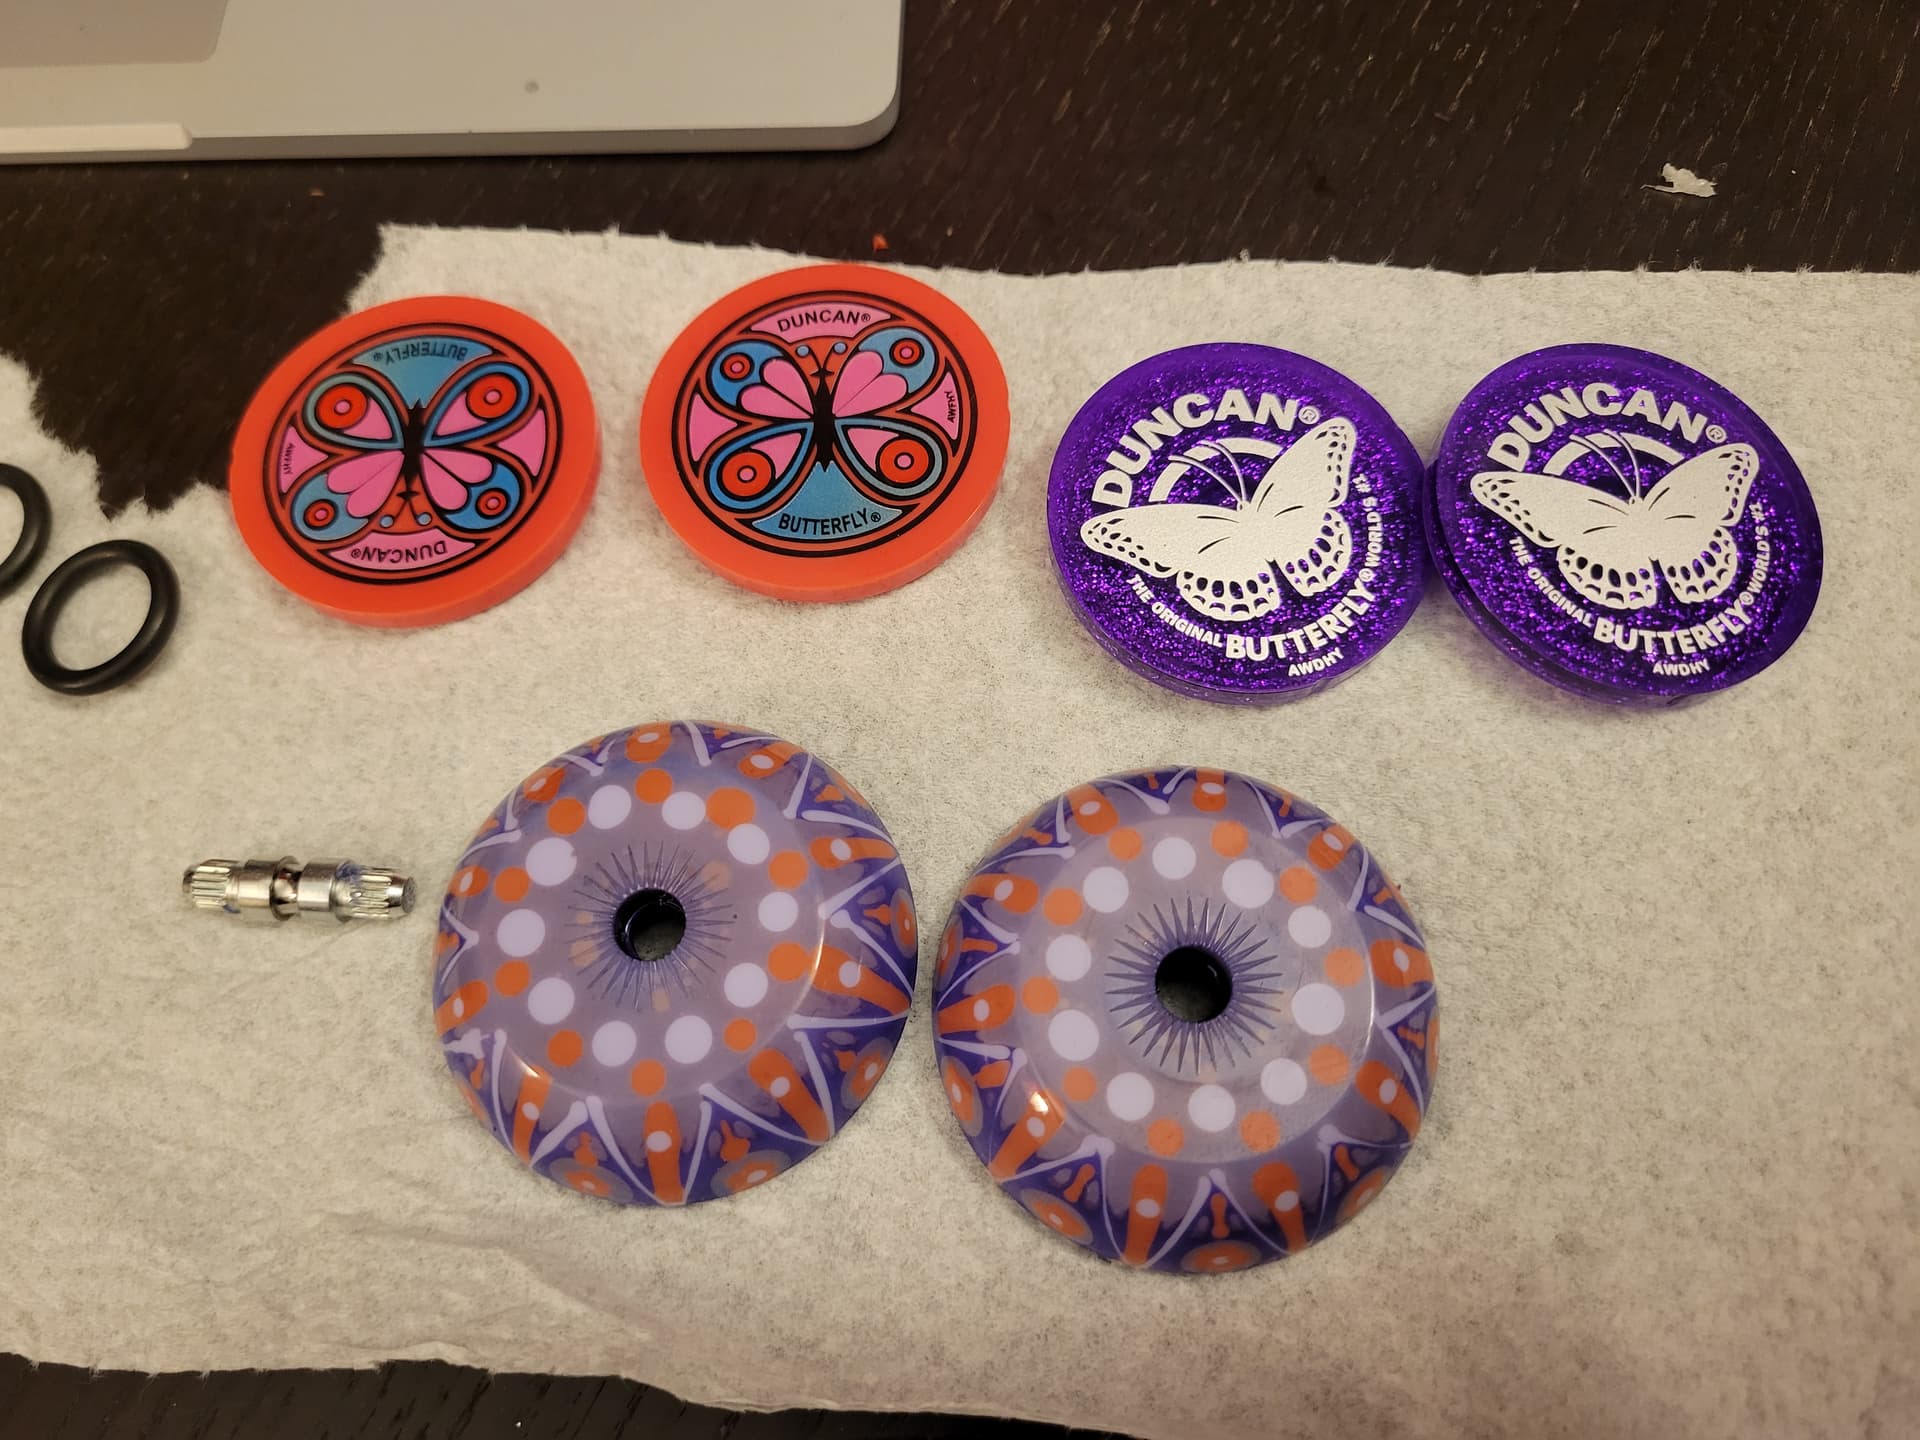
Ok, the fire is lit, here is some setup for my next dye job. Various hot glue guns and sticks, a washable marker, some fresh easter purple butterfly halves, and the polished concave axle and purple glitter caps from the one i broke…

I draw my patterns on the halfs, this is more of a guide for where i want to put the first layer of hot glue.


10 Likes
Thanks Justin for doing this post ![]()
3 Likes
Can’t wait to see the rest of the process and the results!
2 Likes
Laid down the zig zag glue pattern, will go back and do some dots. Hot glue is an unusual medium and I recommend practicing on cardboard or something to get a feel for how to make lines, dots, etc. The glue gun will also be a factor in learning how to control flow, and you are gonna get alot of wispy glue threads to deal with.


7 Likes
Dots are done. Next step will be first layer/round of dye. Later when the glue is removed, these spots will be the original easter purple color.

6 Likes
Dyed the halfs with rit dyemore pink, about 2 parts dye, 1 part acetone and a little spash of water. Submerged only 10 minutes. This is hot dye (meaning high percentage acetone, about 30 %), it will hurt the plastic if you go long, it scratches easily and can get brittle. Working from light to dark, next layer will be blue, but first, gotta glue again to get pink spots.

10 Likes

Ok, this is the last glue run, about to dye purple. The ratios of dye, water and acetone have been the same, same 10 minute dips, but this run will be about 40% acetone, and 60% dye, no water. Will check every 5 minutes till i get the color where im aiming.

7 Likes

Had to leave it soakng about 15 minutes to get more color, but didn’t hurt the plastic so far. Before unmasking…

8 Likes