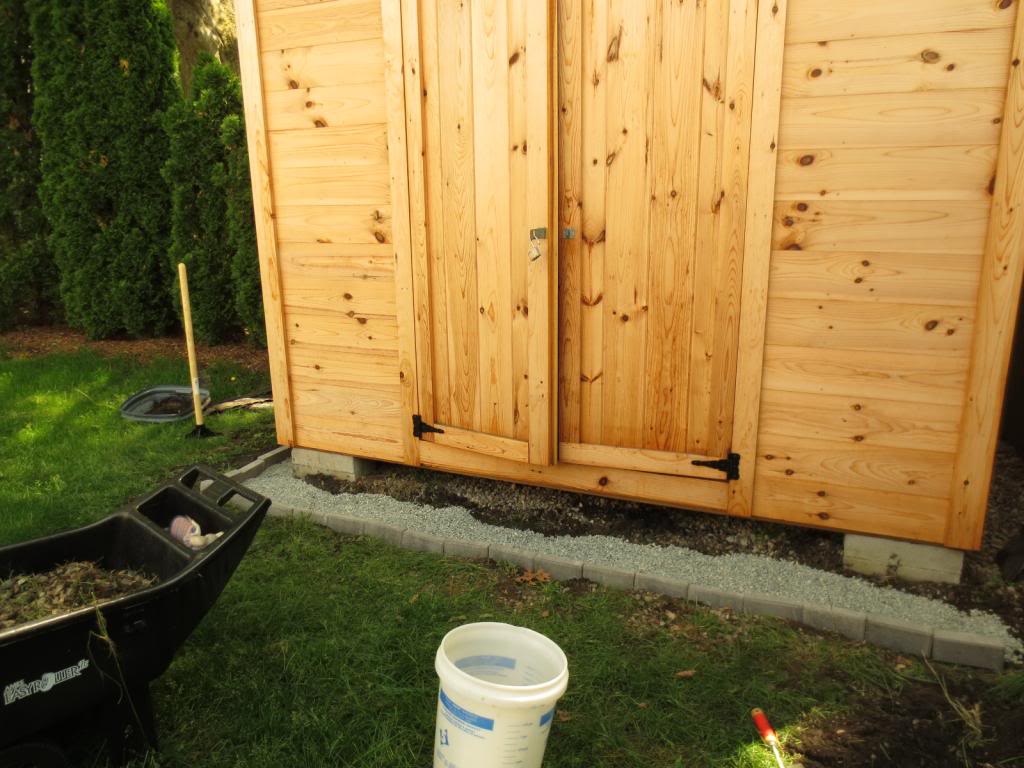
Snaggle was kind enough to give me some tips. I figured I’d post how this came out. I just did this a few days ago. I was working around my busy schedule, rain, and frankly just feeling lazy when none of that was going on. So, here’s the finished product:
First, I dug a hole several inches deep, maybe about 3", and set up some paver stones around the edges as a border. Basically, they will help hold in the gravel, and gives me a relatively straight line to work with.
Well, remember…I said “relatively straight.” 
Then I put a few inches of crushed gravel in there. It was a heavy load carrying all that gravel and putting it in my car, but I filled five 5 gallon buckets and made 2 trips:
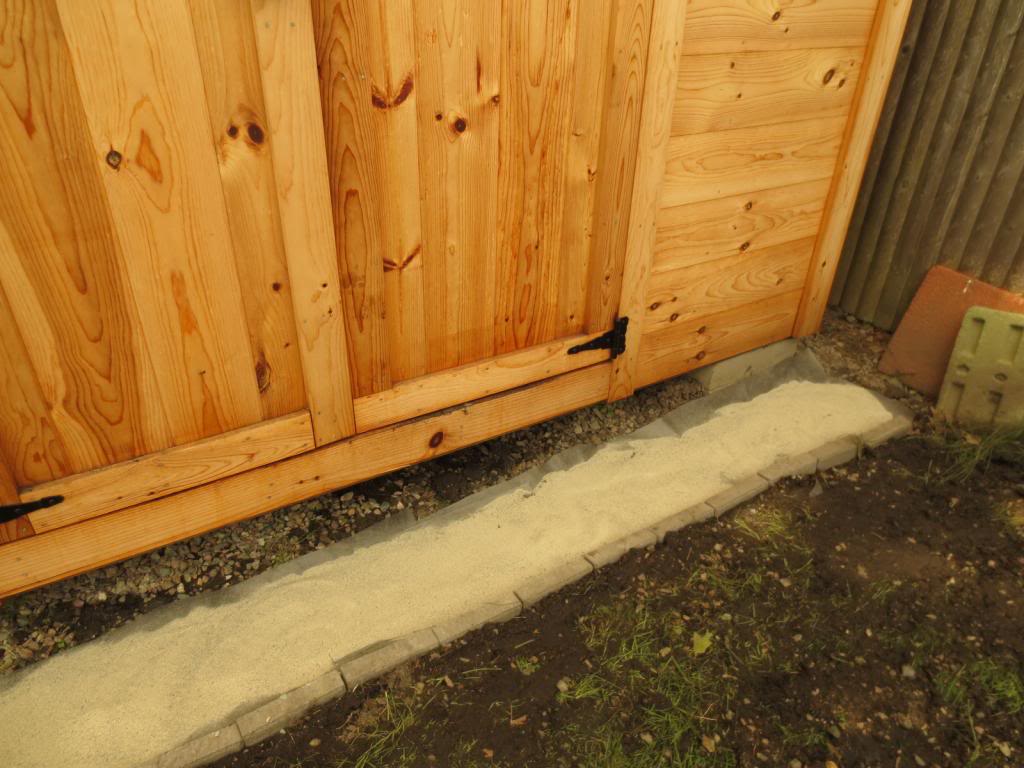
I forgot to snap a photo after the next step, but you can see that I put a layer of landscape fabric, and a layer of sand.
I got even lazier with taking photos, and the next two steps were that I laid my stones out where I wanted, and put sand on the top.
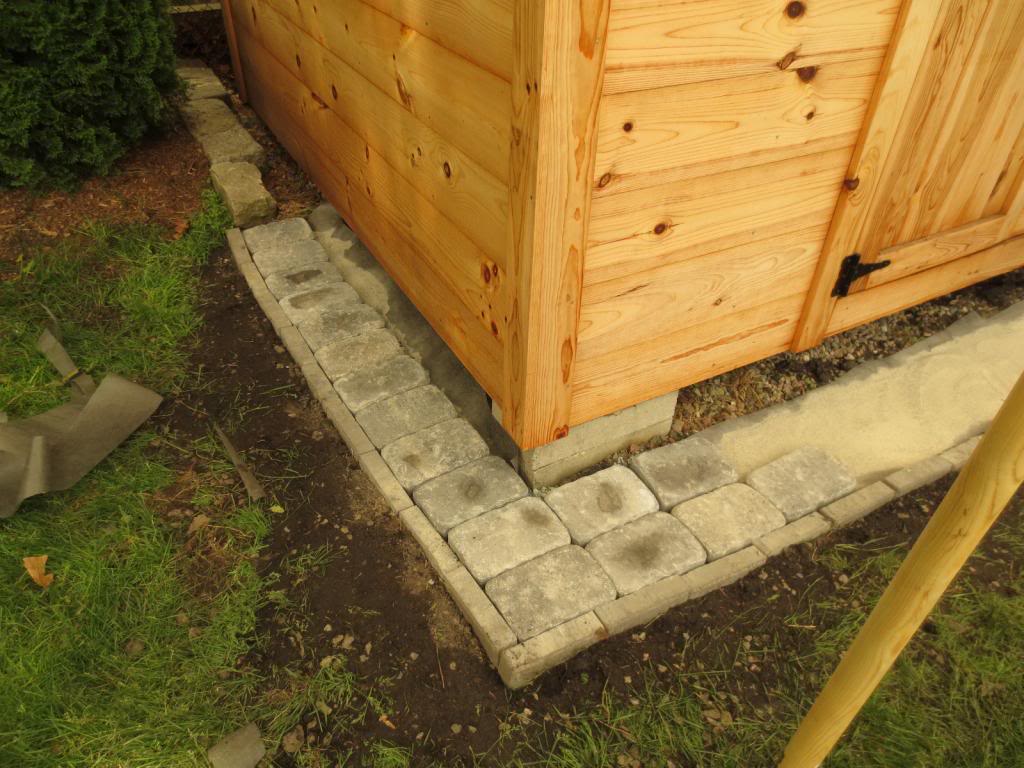
Then, I swept the sand into the cracks and crevices of the stones, and got this:
The last step, was that I wet it a little, but this photo was before I wet it with the hose.
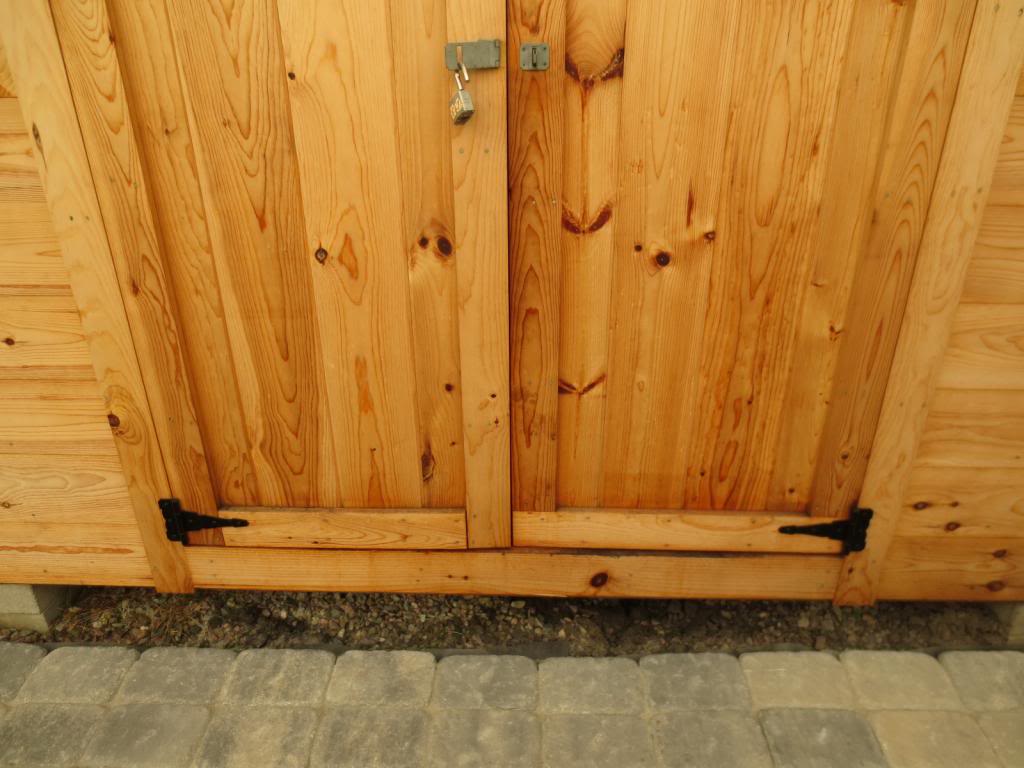
All done…
It rained already. When water comes off the roof of the shed, it hits that layer of stone closest to the shed. I’m glad I did this, because I think this will last some years before I have to mess around with it again. If I could do one thing over again, I would probably take the time to measure my lines straighter. I’m happy with how it came out. I’m still considering the drains, but will likely have someone else do that for me. I knew I could do this stone thing…it’s like playing with blocks. Should hold me for awhile 
Thanks again Snaggle.
Tools used:
Rakes
Hoe
Tamper
Scissors
Mallet
Shovel
broom
Supplies:
Stone
Gravel
Landscape Fabric
Sand