


This is a tutorial on how to make your own friction stickers - hundreds of them - for $5
Supplies
A flat surface*
A block of wood (2-4’s work great)*
Hockey tape
Silicone caulk
Wax paper*
45 minutes*
Old friction sticker*
*means most likely already have.
The Steps
Note for the purpose of the tutorial I used blue silicone RTV so you could see the silicone.
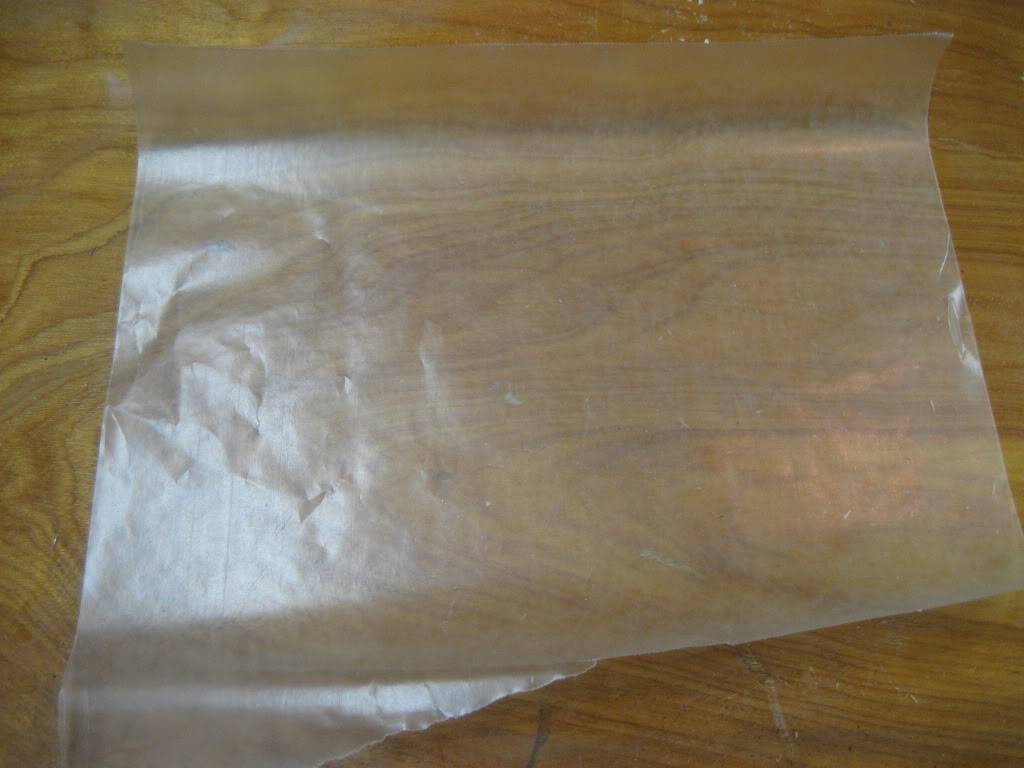
Get a piece of wax paper about 1’ by 1’(30cm by 30cm).
Cut two or three pieces of hockey tape about 7 in (20cm) in length and put the strips of tape on the wax paper leaving about half the wax paper uncovered.

Put small amounts of silicone on the hockey tape and smear with finger to desired thickness.


Fold the wax paper so that it covers the hockey tape and silicone. The layers should be from bottom to top wax paper, hockey tape, silicone, and wax paper.

Put the flat surface on top of what you already have, and apply pressure for 5 seconds.
Take the flat surface off and wait for 1 hour.

After it’s been 1 hour peel the wax paper off the top layer.
Take your old friction sticker and trace it on the silicone layer on top of the hockey tape.


Take off the friction sticker and use sharp (be careful) scissors and cut out the outer circle. Fold the Soon-To-Be friction sticker in half and cut out the inner circle.


Peel off the wax paper and put it in your yoyo. Trim if necessary.
Wait at least 24 hours before use.
Enjoy.

A modded Mosquito with a new homemade friction sticker.

A worn homemade friction sticker.
Tips & Tricks
You can adjust the response by making the silicone layer thicker or thinner.
You can use colored tape for colored stickers.